For an even better result in execution and end result, it was especially paid attention to some details.
Here we go:
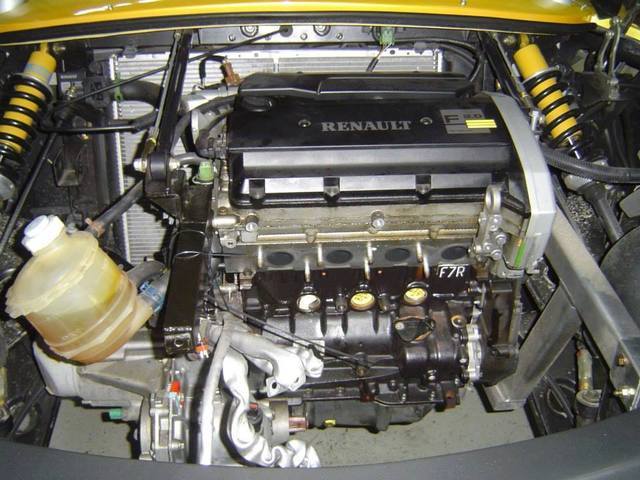
Start:
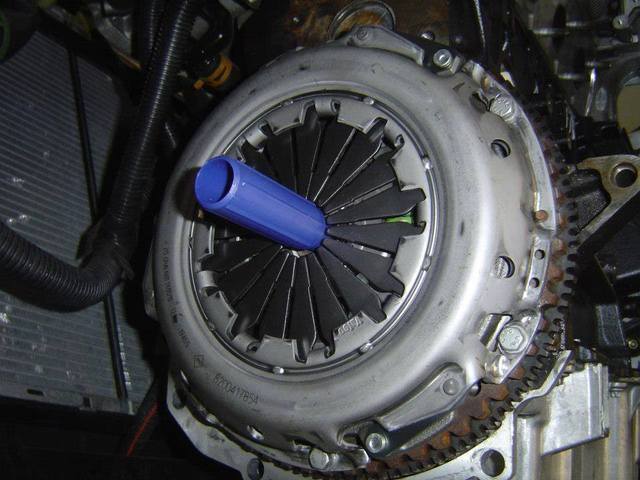
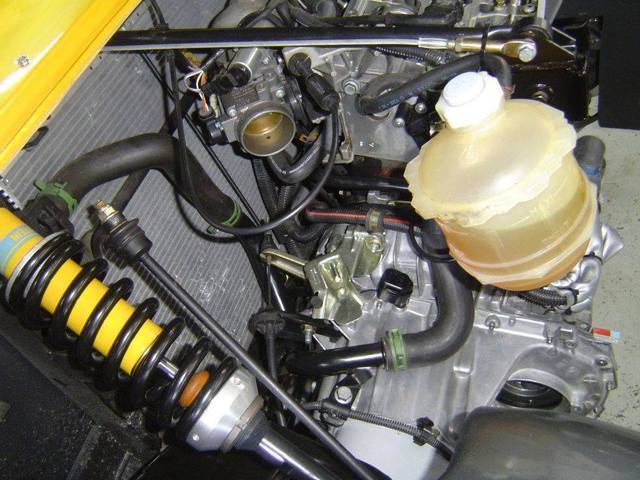
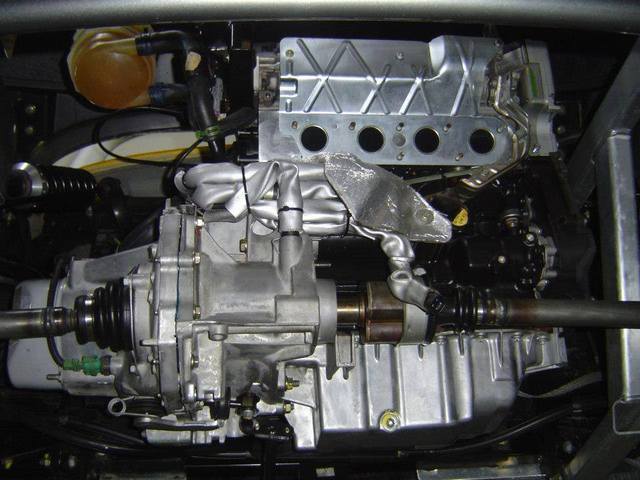
First, the axle shafts and the starter were removed:
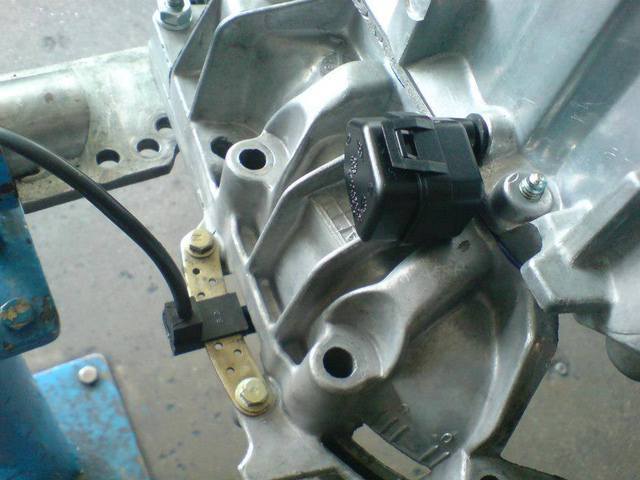
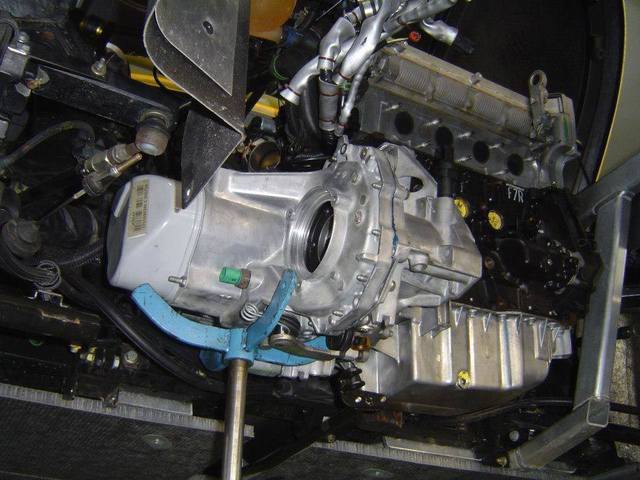
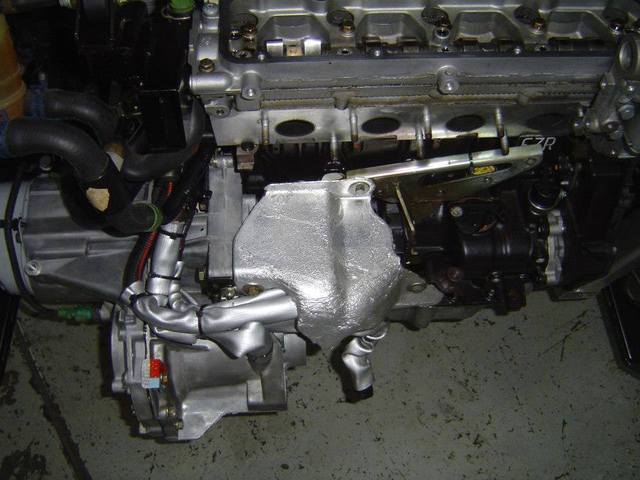
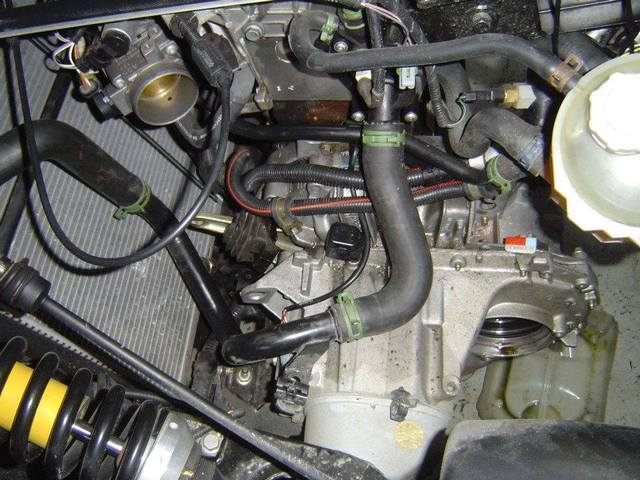
Then the electrical wires, the gearbox holder, the coupling cable and the connecting screws of engine / gearbox:
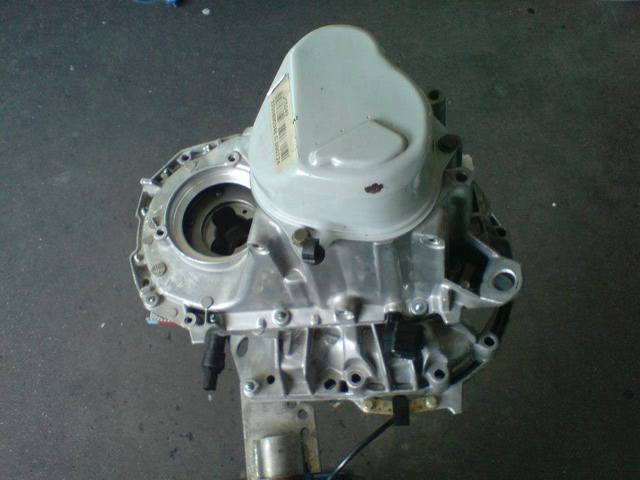
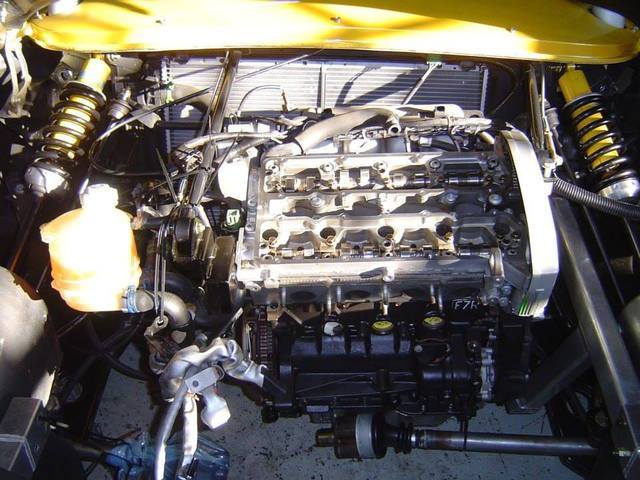
The gearbox could then be removed:
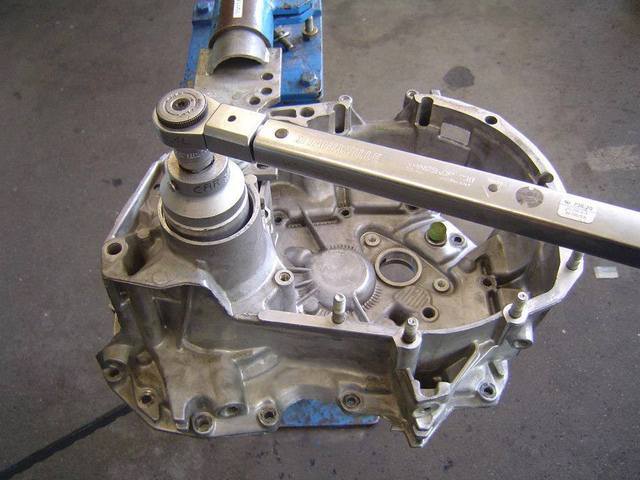
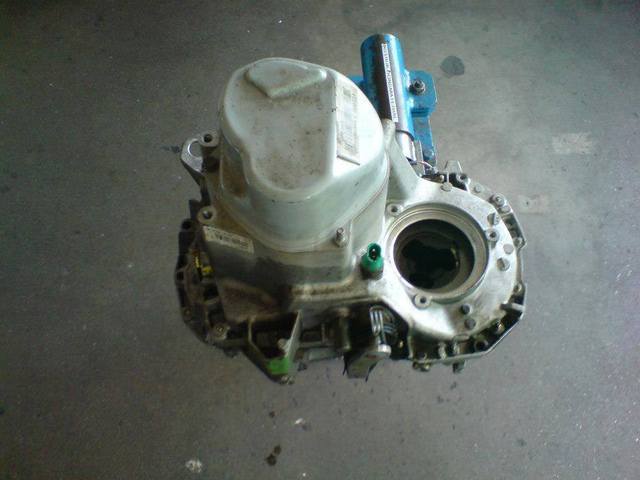
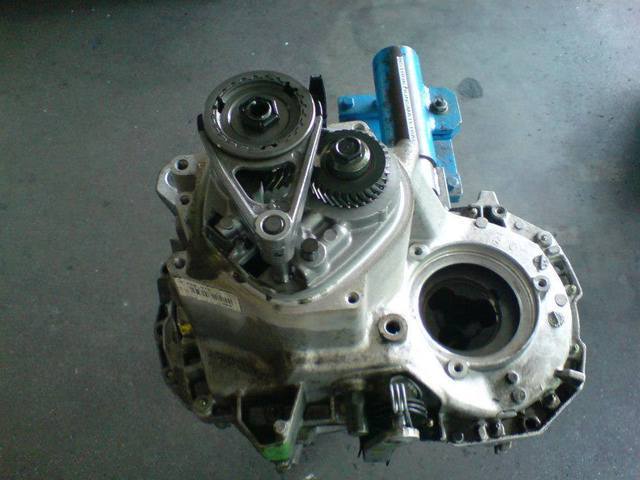
The removed gearbox was attached to the gearbox holder:
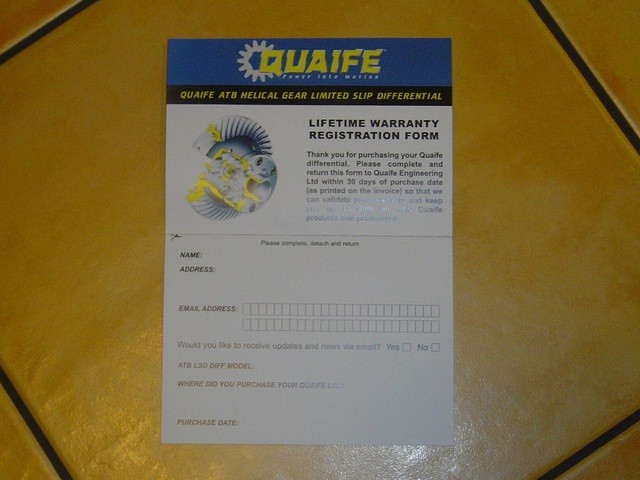
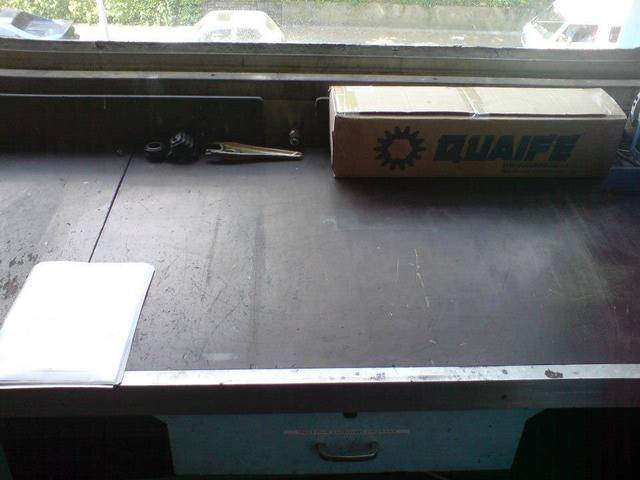
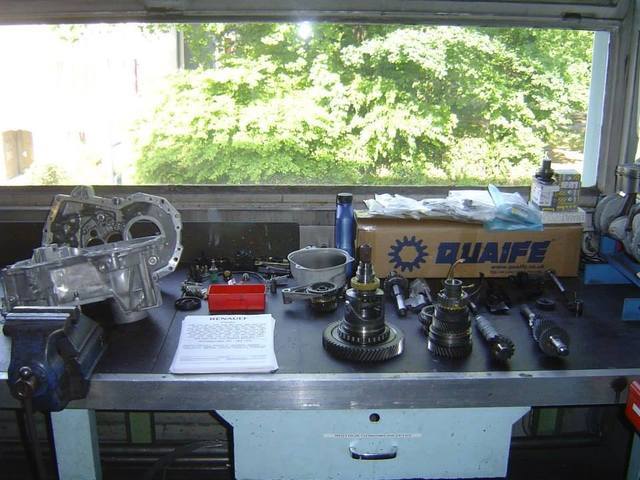
The removed parts were cleaned and placed aside. The new Quaife Limited Slip Differential is already ready:
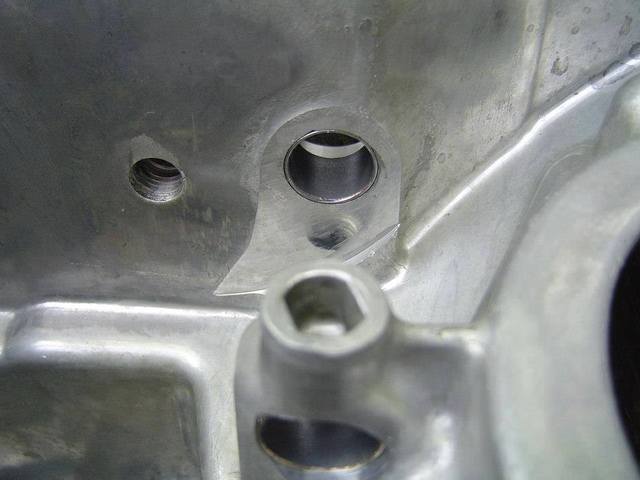
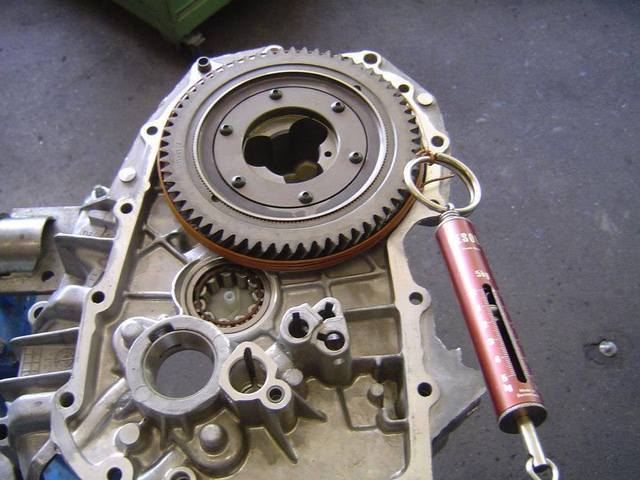
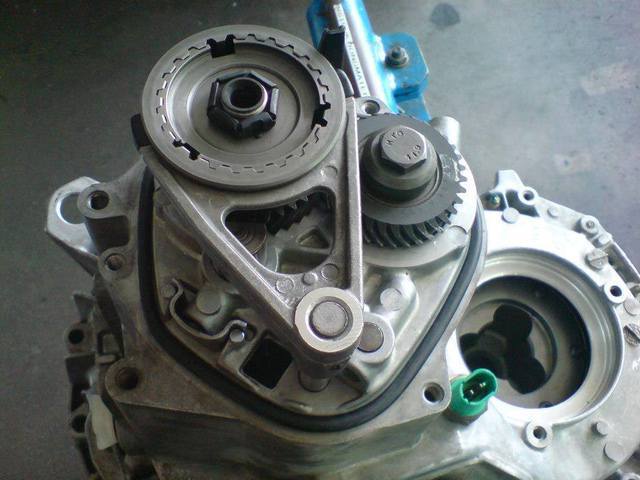
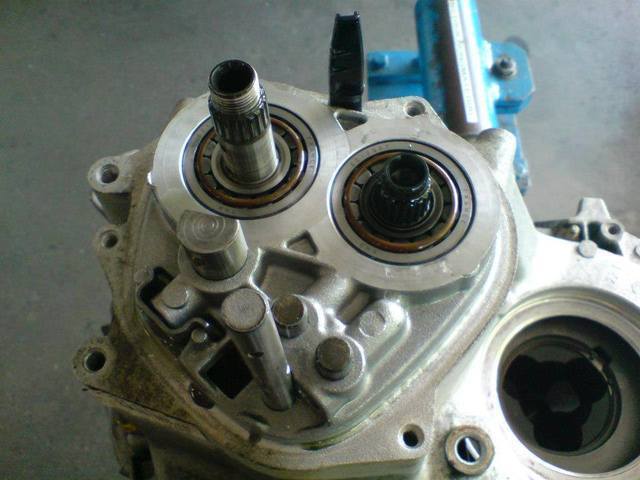
The cover of the 5th gear has been removed:
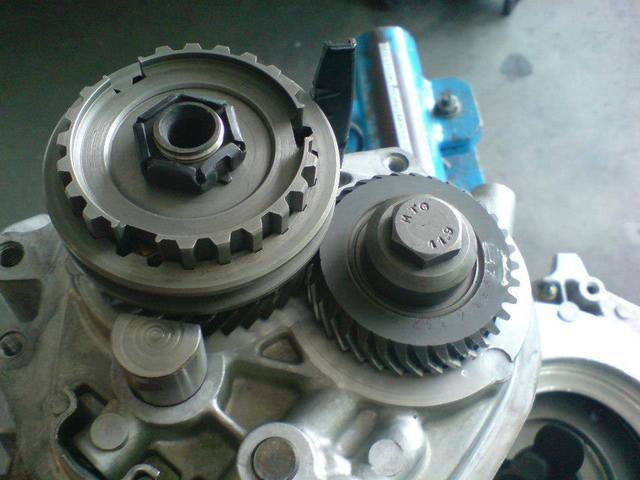
The 5th gear pair and the associated shift fork were removed:
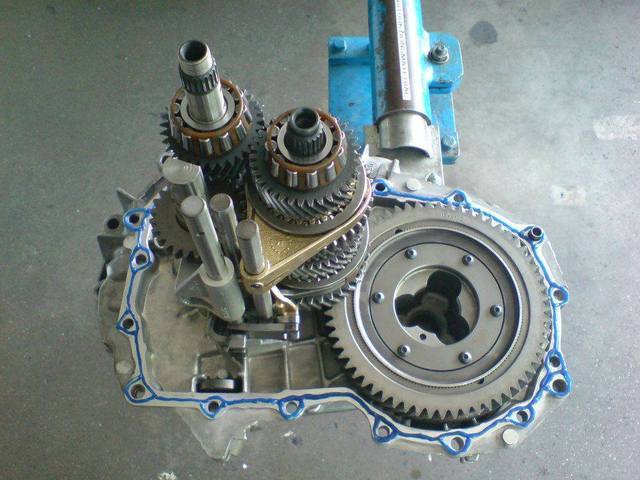
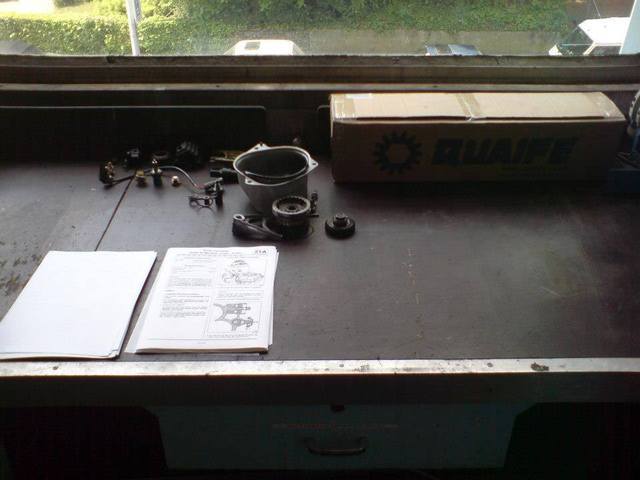
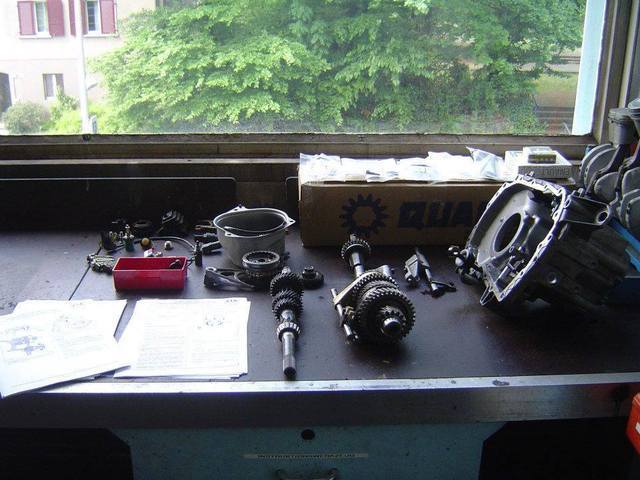
The table fills with parts:
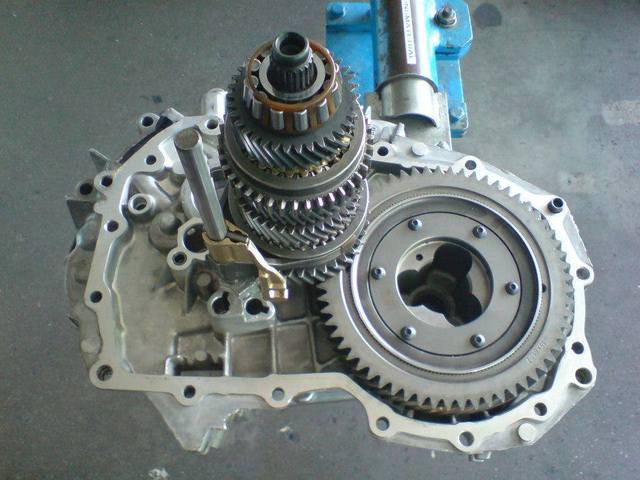
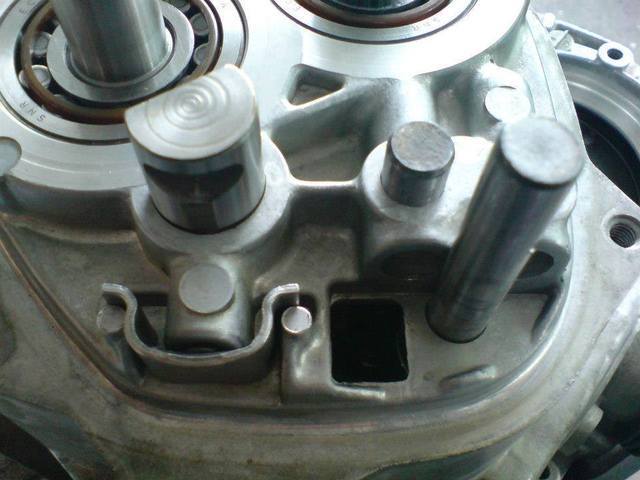
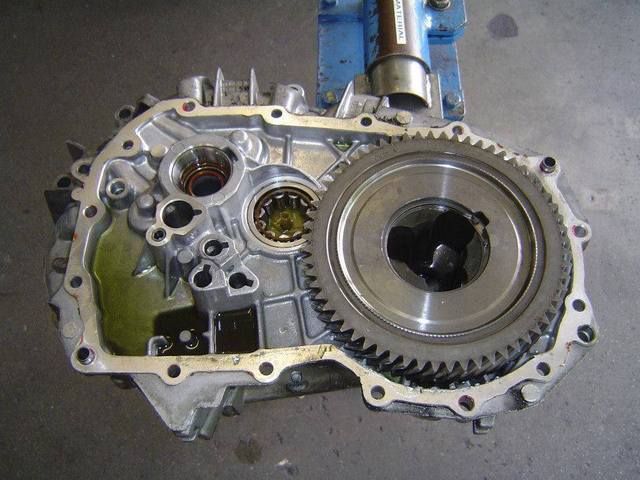
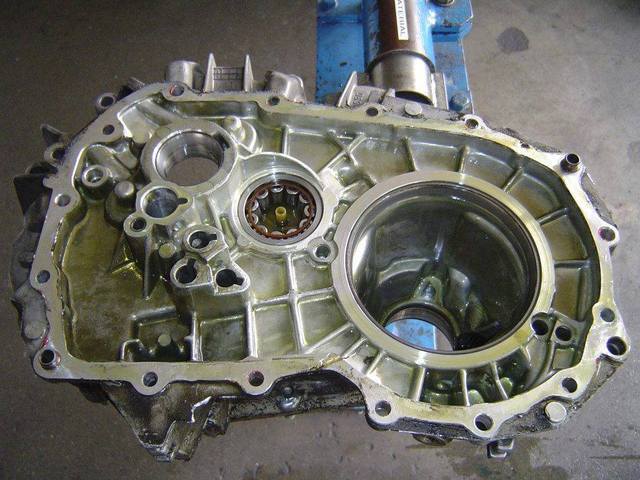
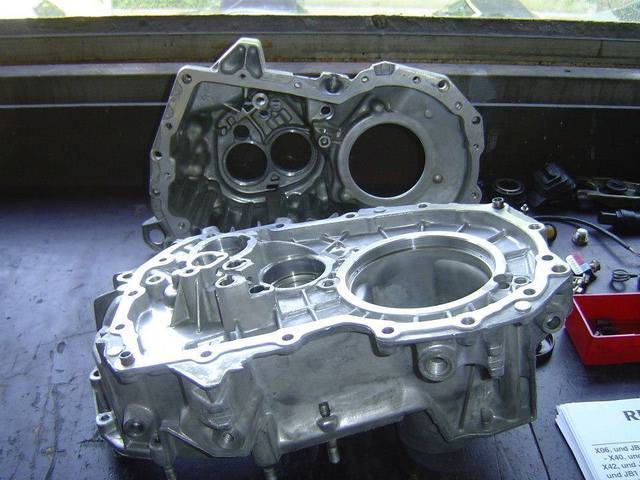
The gearbox housing was removed:
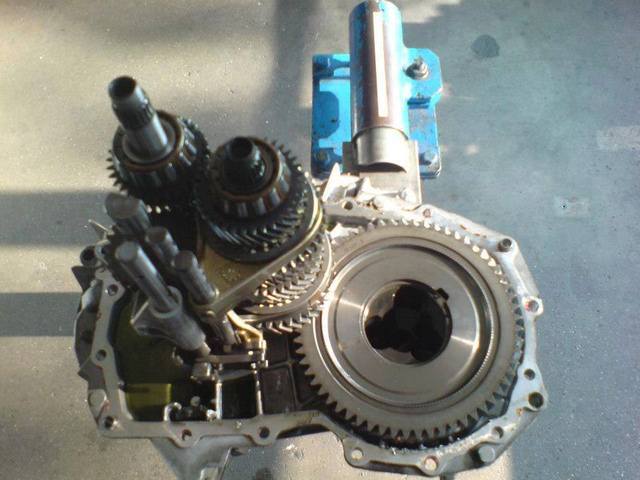
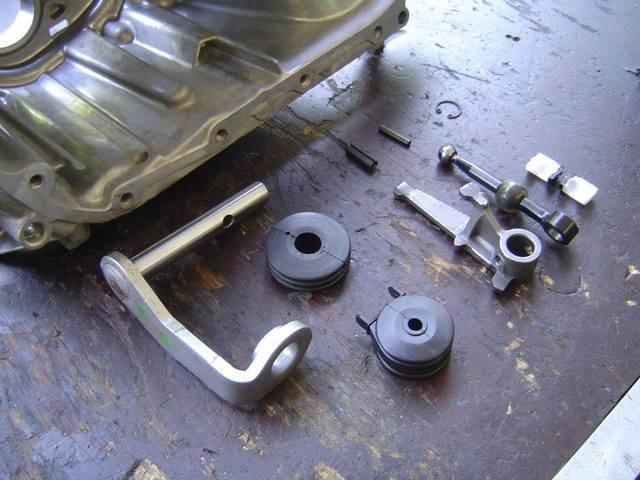
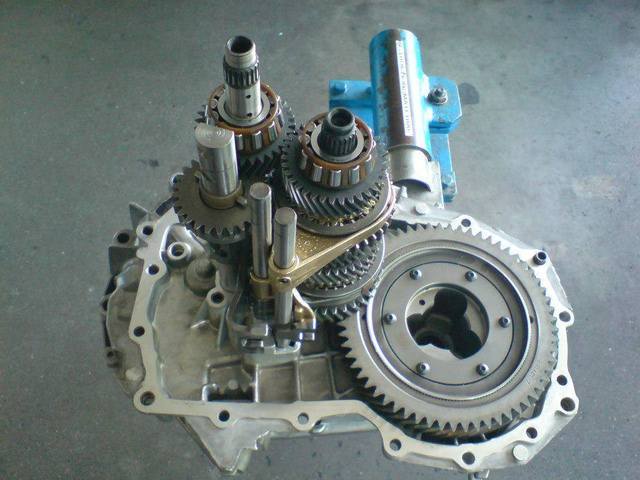
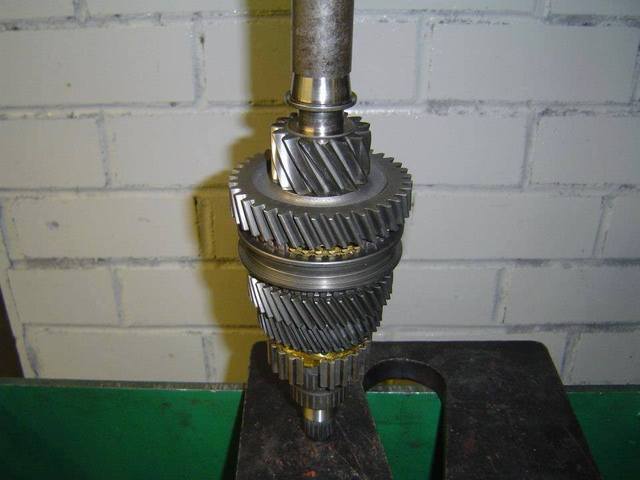
The shafts were expanded. Also the switching parts:
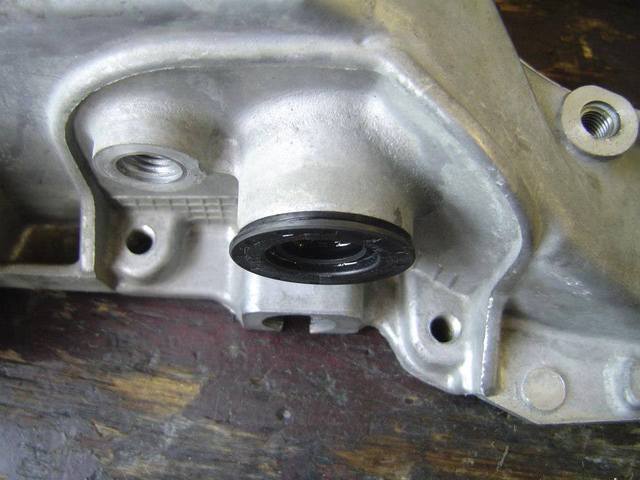
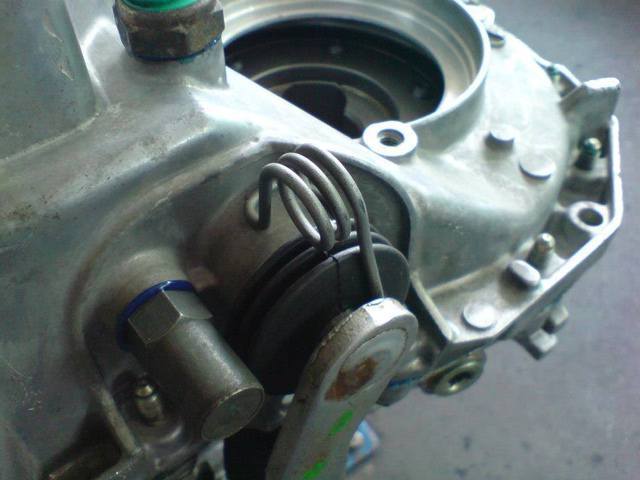
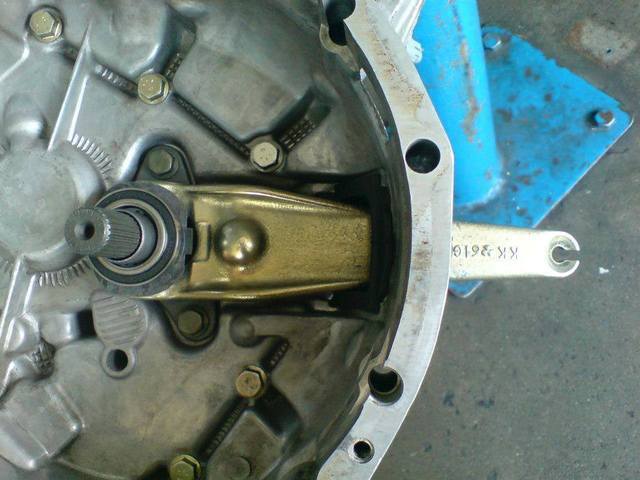
he clutch actuation has been removed:
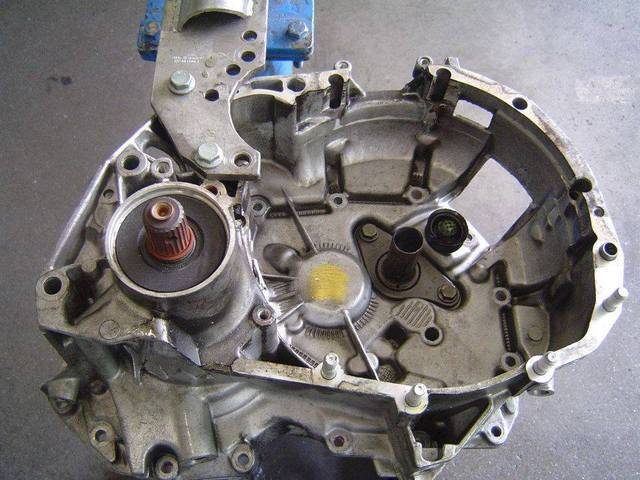
The removed parts:
The original differential was developed:
All parts were cleaned:
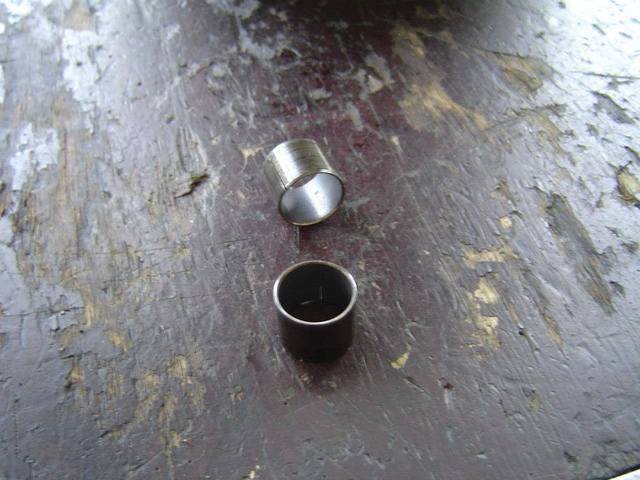
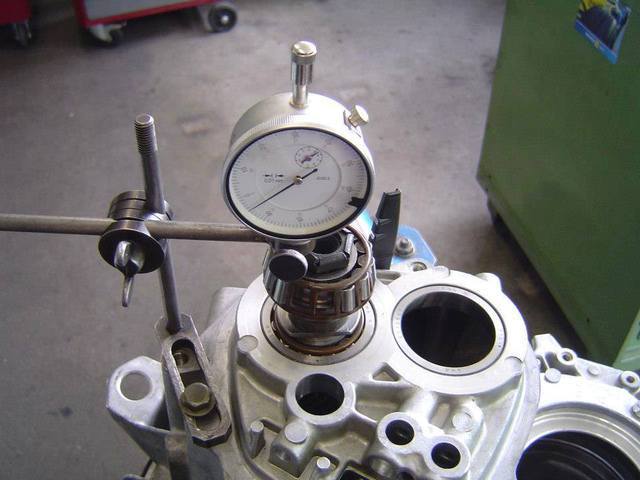
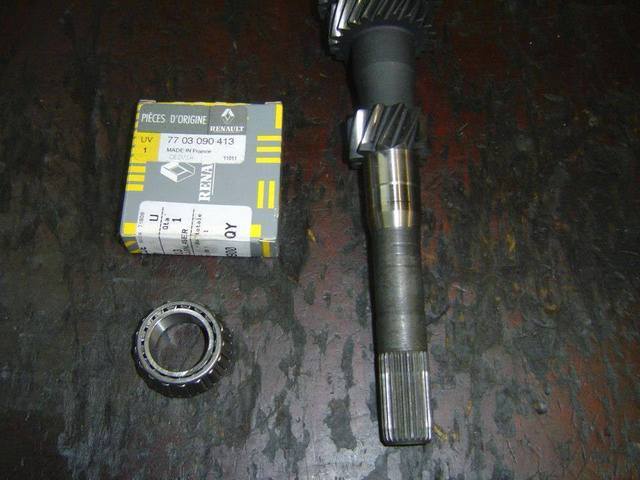
New roller bearings for the secondary shaft were mounted:
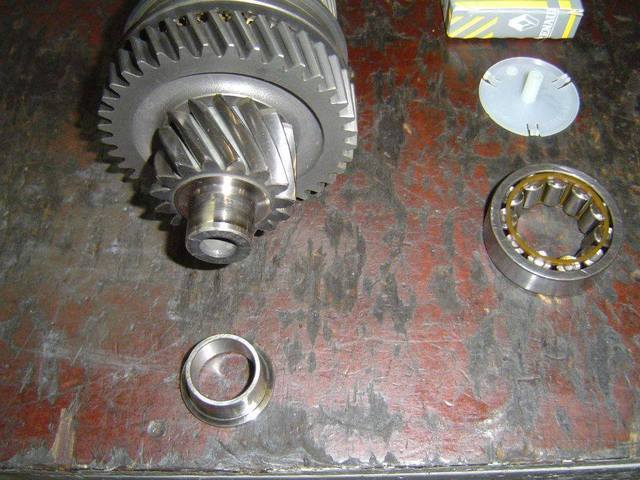
The new bearing ring for the secondary shaft was mounted:
The new bearing ring for the secondary shaft was mounted:
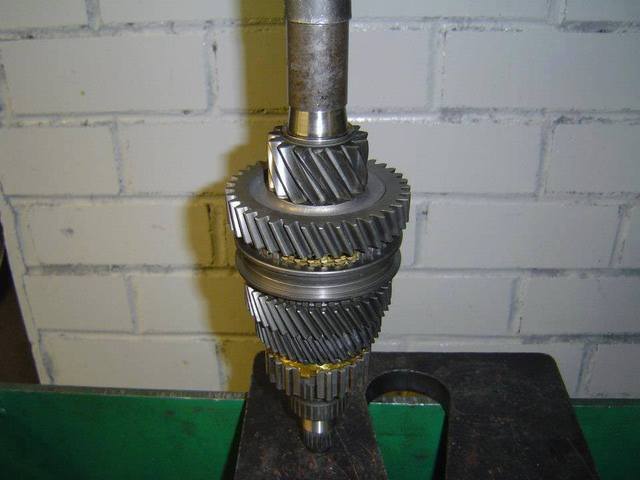
New roller bearings for the primary shaft:
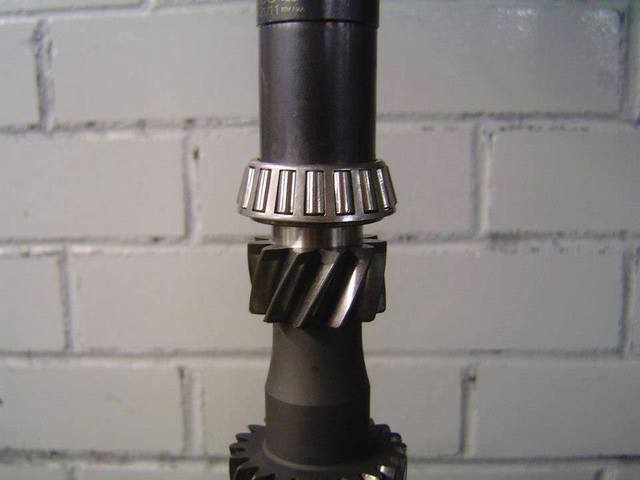
The new roller bearing for the primary shaft was mounted:
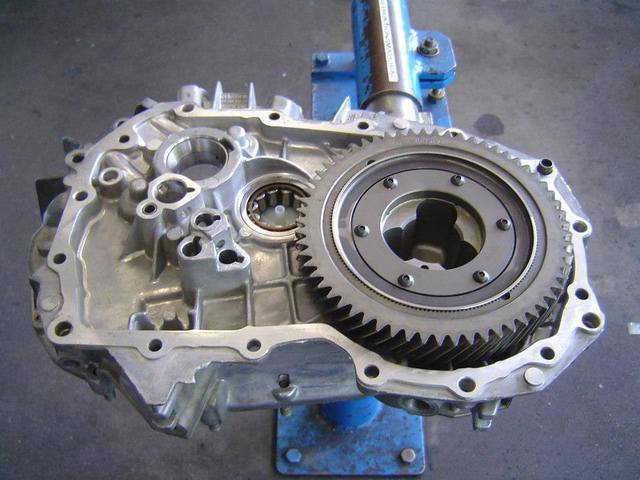
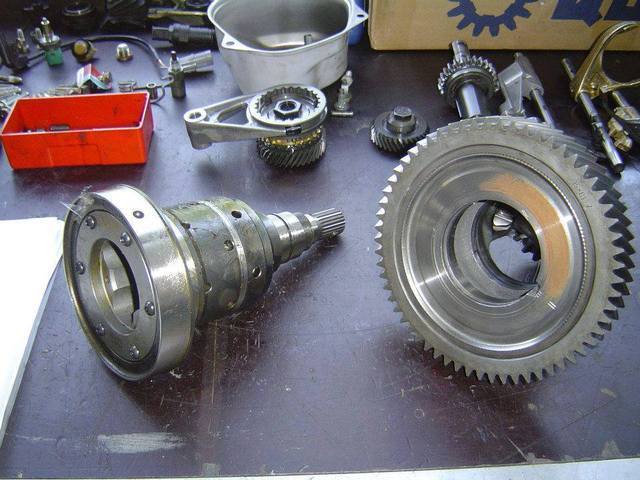
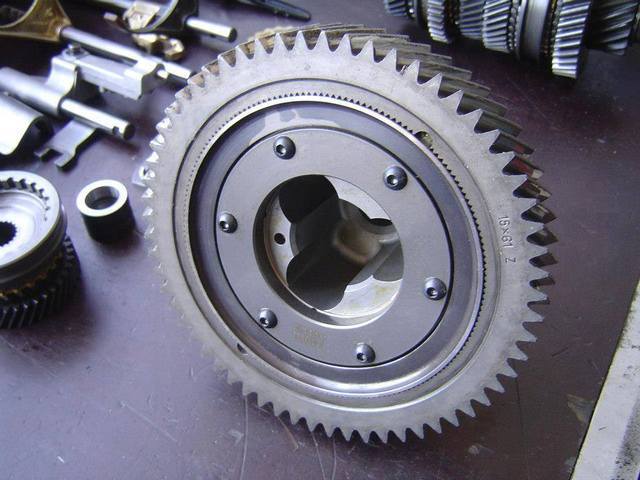
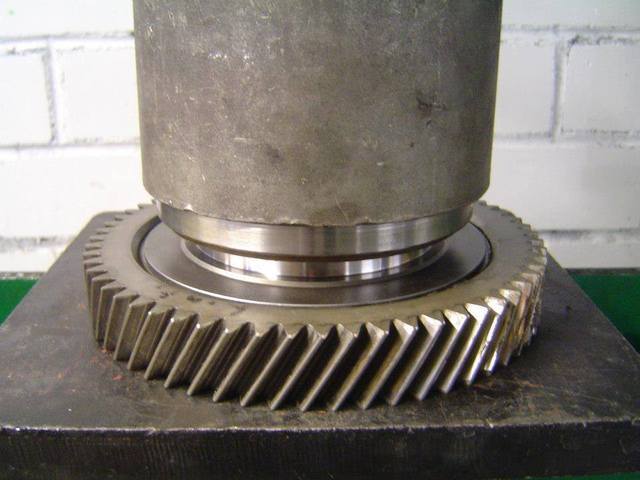
The crown wheel had to be pressed from the original differential and pressed onto the Quaife ATB Limited Slip Differential:
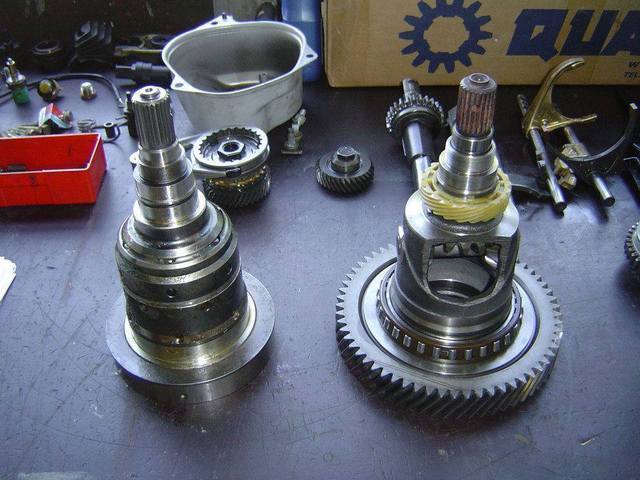
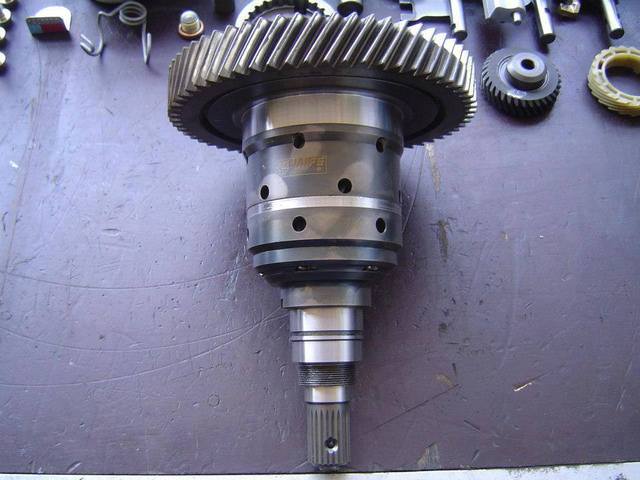
The crown wheel is now pressed onto the Quaife ATB Limited Slip Differential:
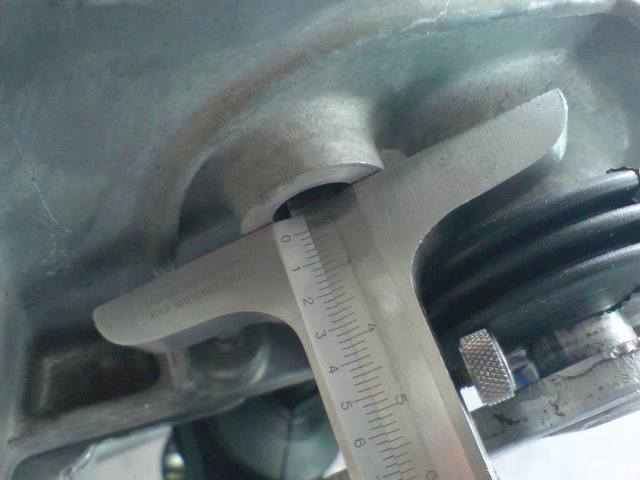
Detail view:
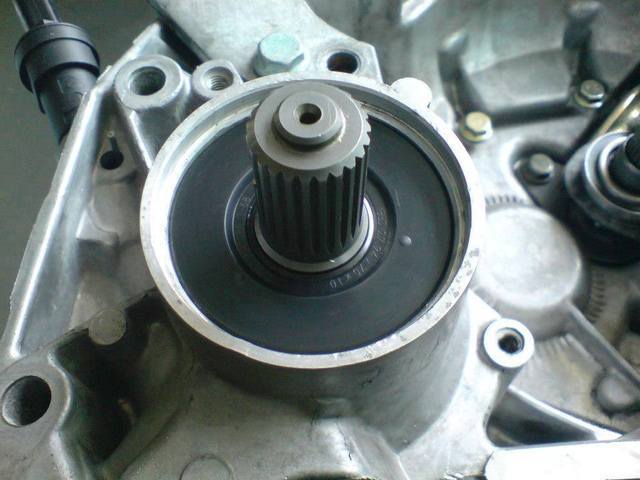
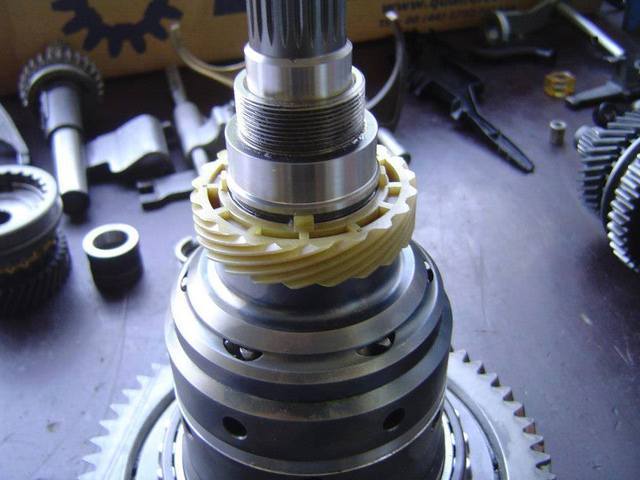
The tacho drive was installed:
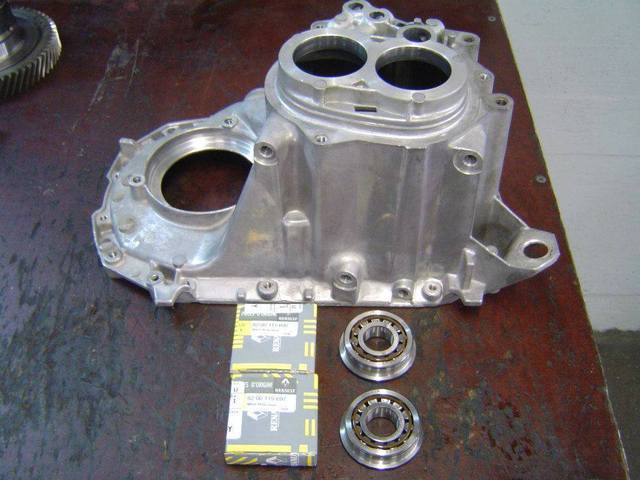
The transmission housings were glass-blasted:
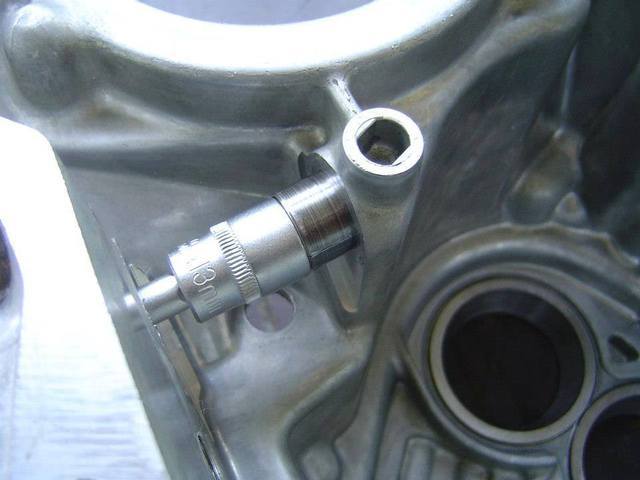
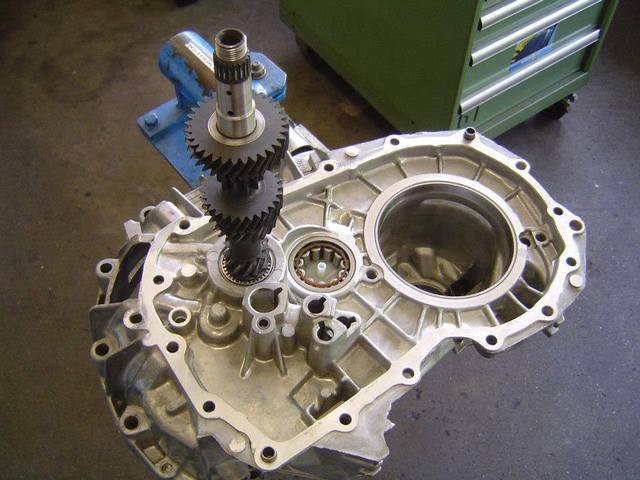
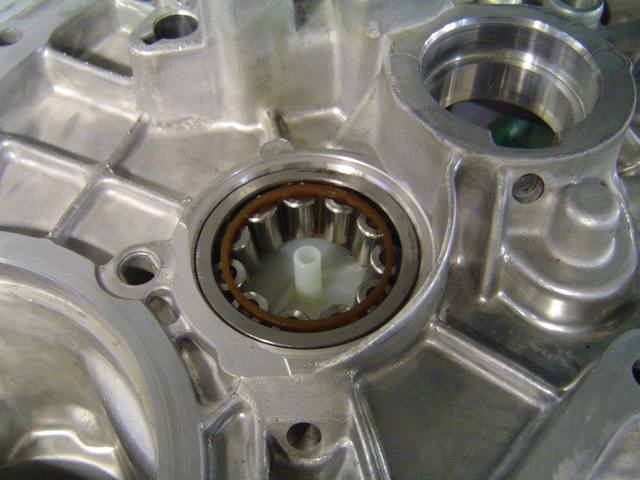
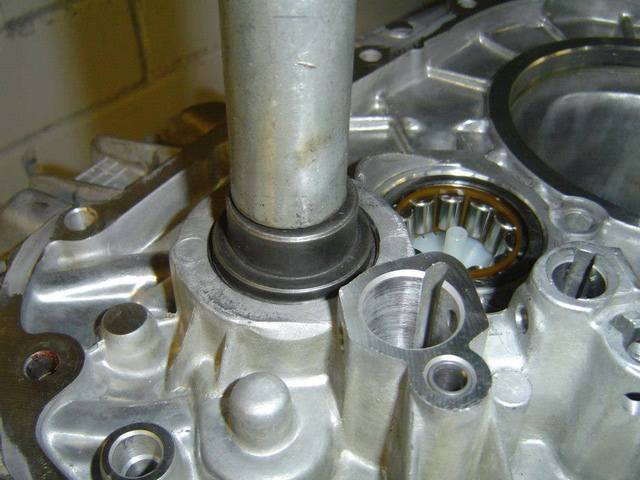
A new roller bearing for the secondary shaft was pressed into the gear housing:
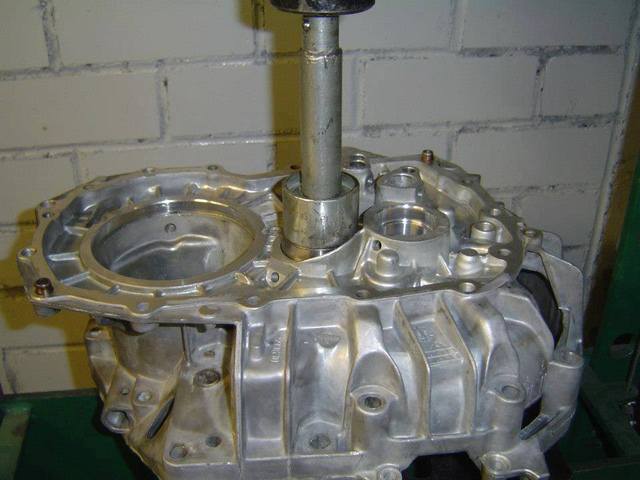
The roller bearing was pressed in:
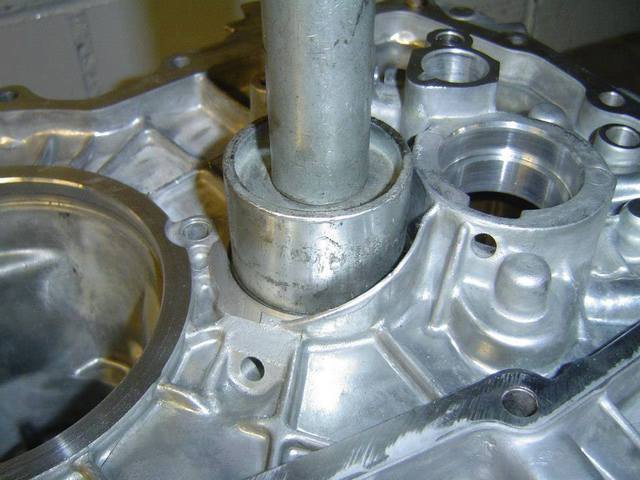
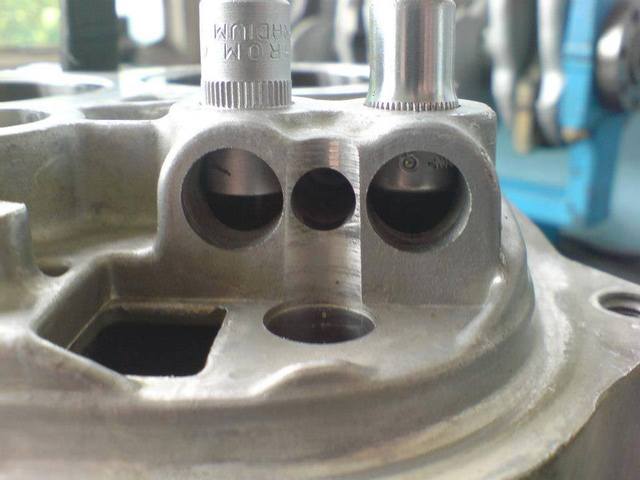
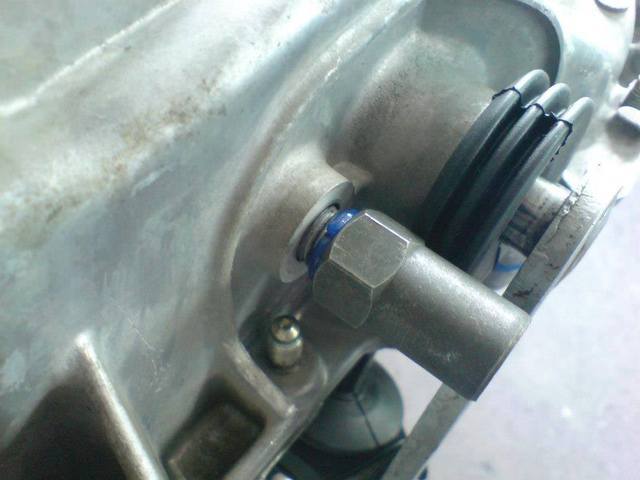
Detail view:
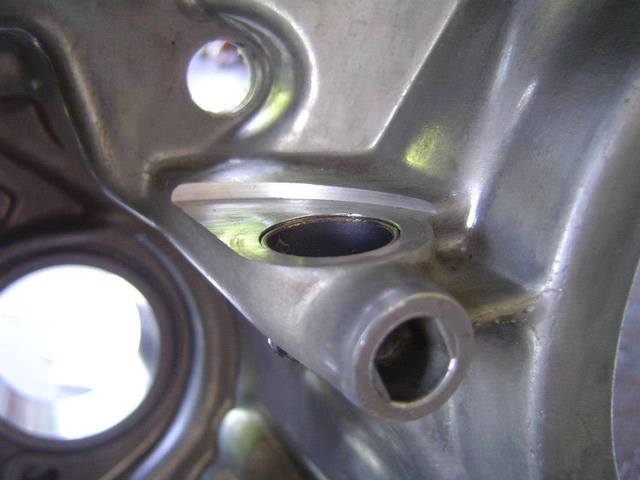
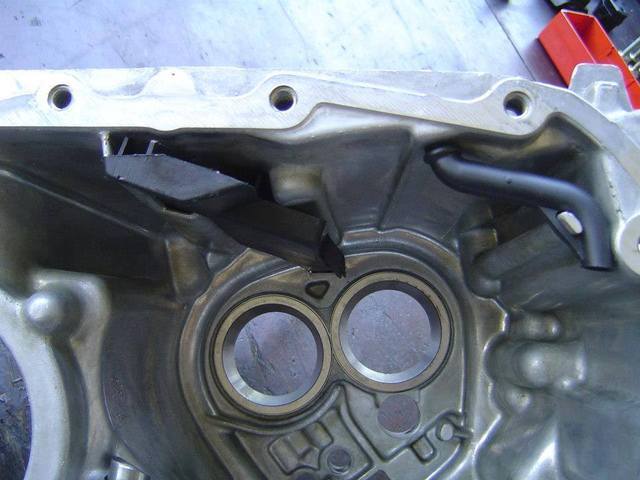
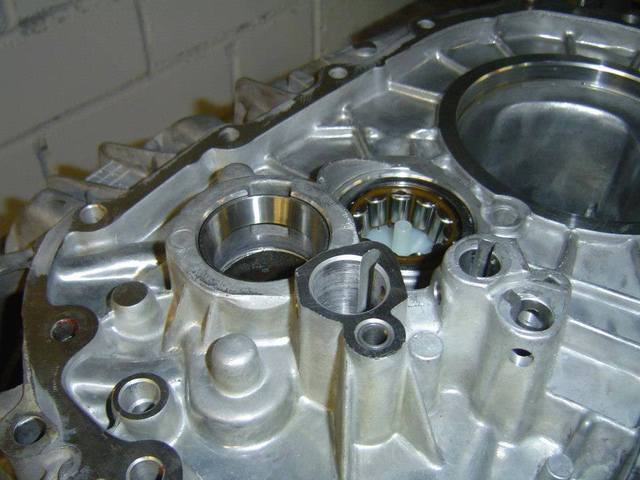
The new bearing shell for the primary shaft was pressed into the gearbox housing:
The bearing shell was pressed in:
New roller bearing for the Quaife ATB Limited Slip Differentiall:

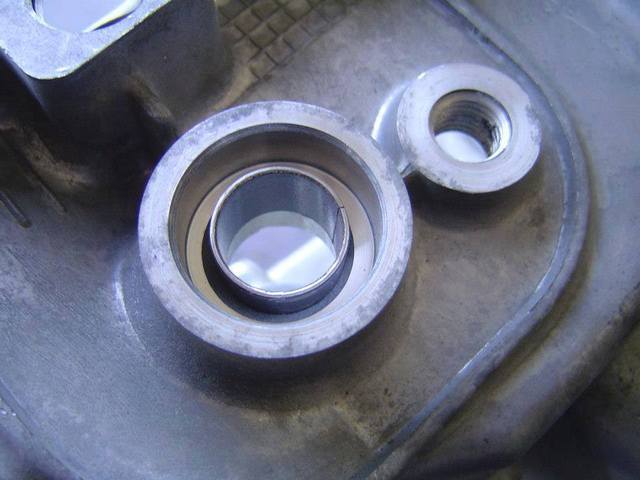
The bearing shell of the differential bearing was pressed in:
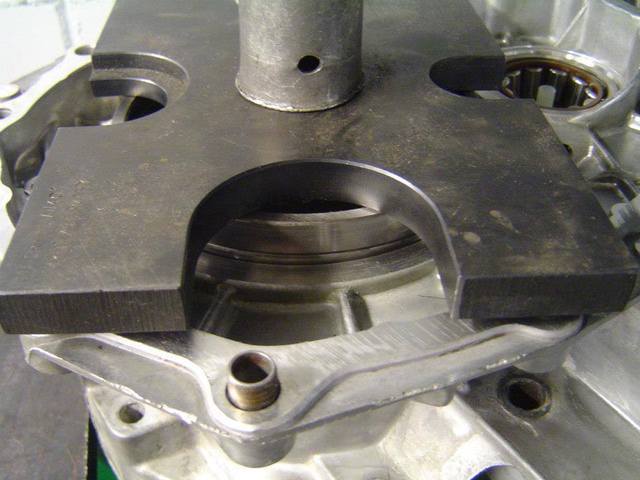
Detail view:
The roller bearing was pressed onto the Quaife ATB Limited Slip Differential:
The roller bearing was pressed on:

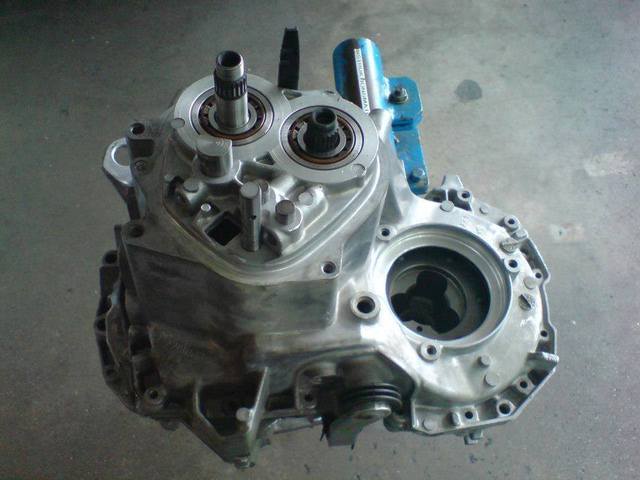
New roller bearings for the transmission housing for the primary and secondary shaft:
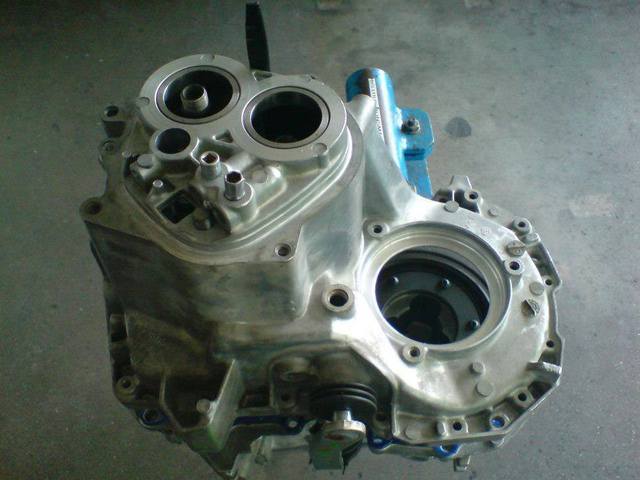
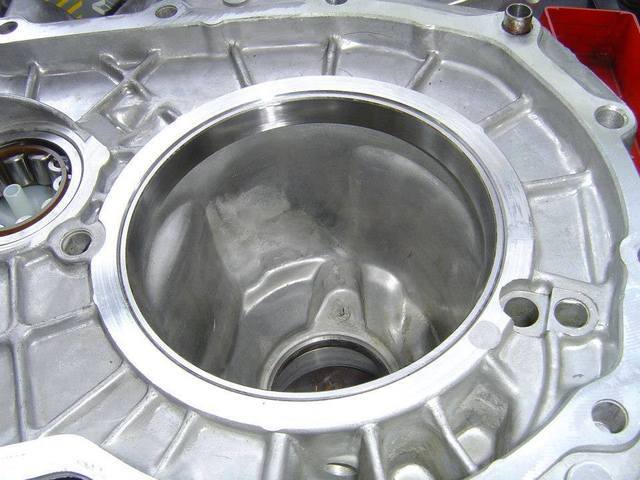
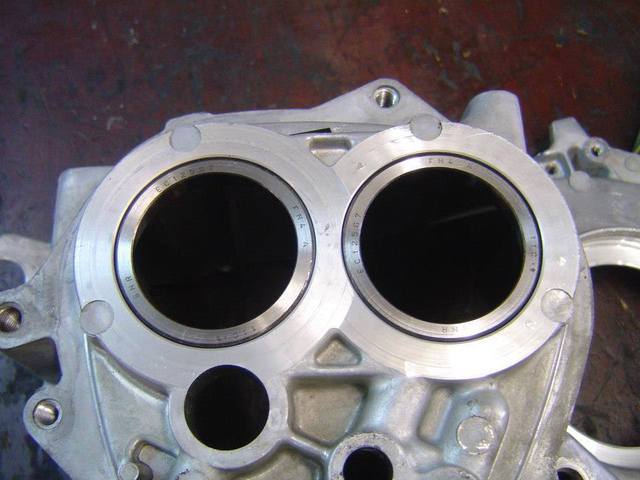
The bearing shells were pressed into the gear housing:
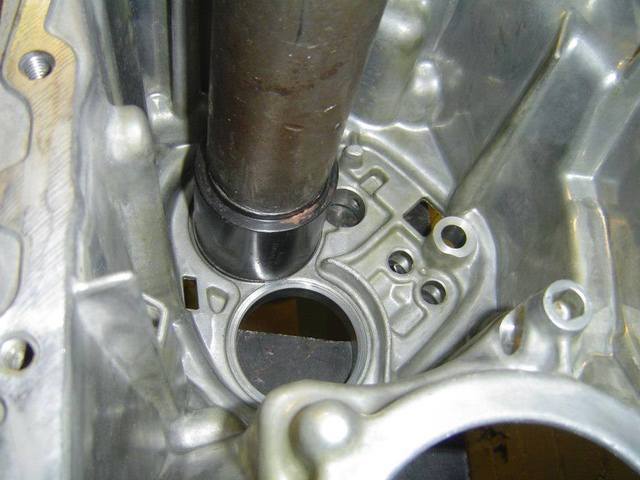
The bearing shells were pressed in:
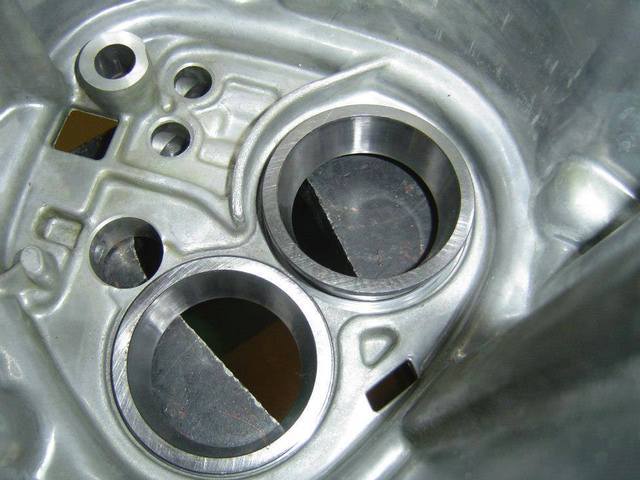
Detail view:
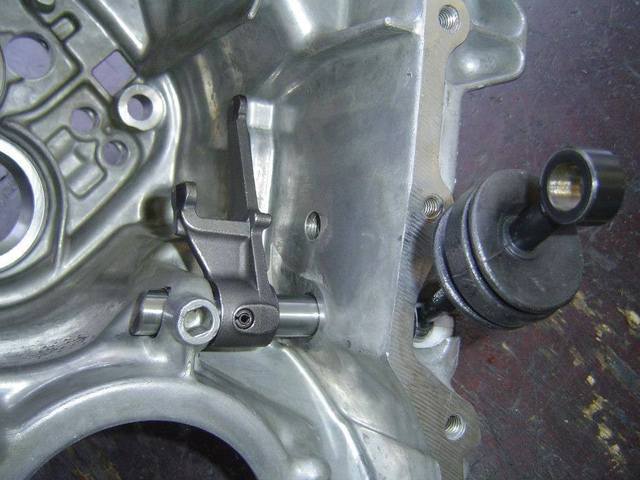
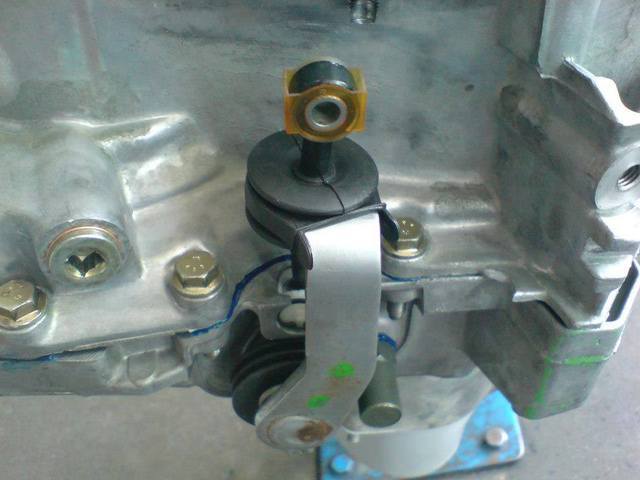
New bearings for the shift actuator: